Back to Energy Manager Main Menu
Manually creating a batch
Batches can be created manually by entering multiple bills at one time or from a Positional or Tagged bill import file. Manual batches allow you to track when bills were entered into the system as well as the user who created the entry. *Note: A user must have the Add, Edit, Delete permission for Batch Management in order to create and manage batches.
How to create a manual batch
- Click on Billing Data from the navigation menu and then select the Batch Management panel.
- Click the Add Batch button.
General tab
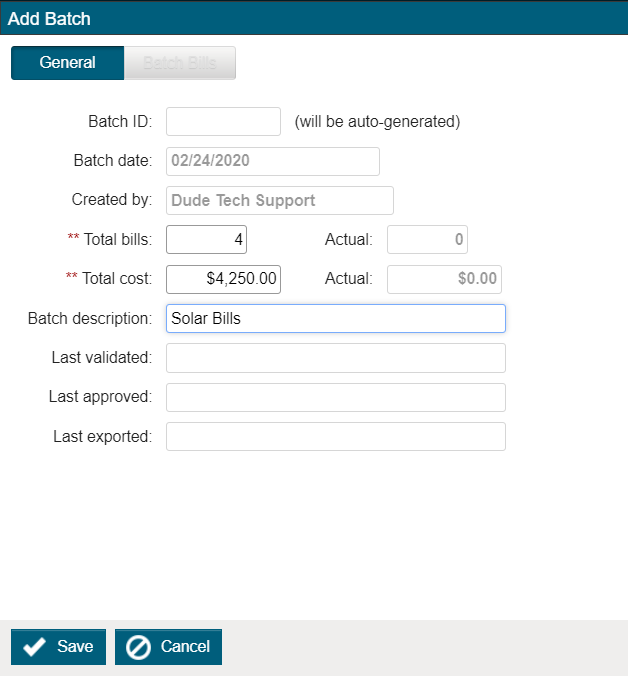
Complete the fields on the General tab. *Note: Required fields are marked with asterisks (**).
- The Batch ID, Batch date, and Created by field values will be generated automatically by the system.
- Enter the number of Total bills that will be entered for the batch.
- Enter the Total cost amount that will be entered for the batch.
- You can enter a Batch description to describe the purpose of the batch.
- If applicable, the Last validated, Last approved, and Last exported fields will be generated automatically by the system.
Click Save.
Batch Bills tab
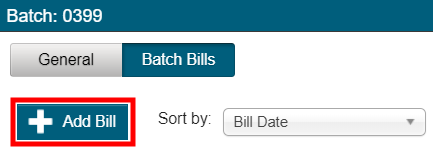
- From the batch list, click the link for the Batch ID number.

- In the window that appears, select the Batch Bills tab and click the Add Bill button.
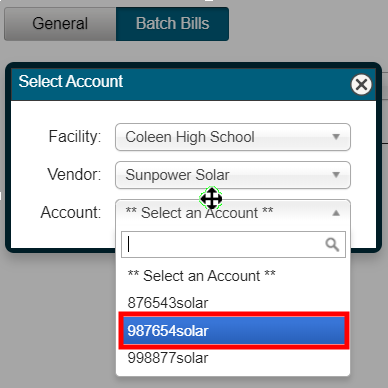
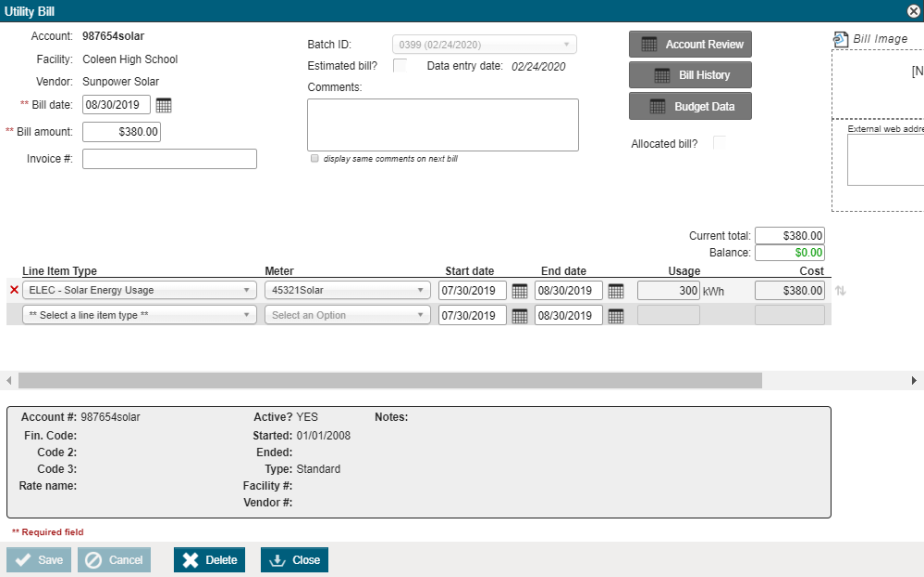
- In the Select Account window, use the Facility, Vendor, and Account filters to search for and select the Account you would like to enter bills for. This will display the Utility Bill page for the account.
Enter the Bill date and the Bill amount.
Select the first Line Item Type that is listed on the bill.
Select the Meter that is associated with this line item.
Enter the Start date and End date of the bill.
Enter the applicable Usage and Cost for this line item.
Repeat this process until all line items from the bill have been entered.
Click Save to return to the batch window.
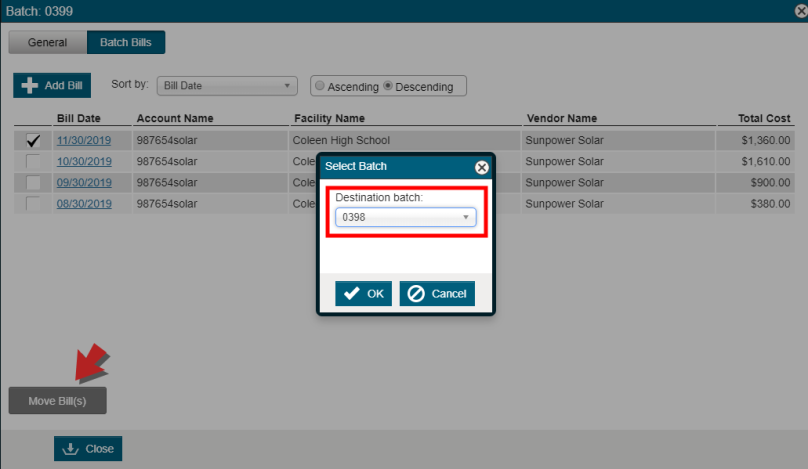
- To move a bill to a different Batch, check the box next to the Bill Date, then click the Move Bill(s) button at the bottom of the page.
- Select the Destination batch from the drop-down menu, then click OK.